| Back to Index |
I had initially wanted to take the CAD plans for my Wedell-Williams Model 44 and construct a skeletal cardboard version, which I could maybe put a skin on manually and then 3D scan, thus creating my 3D model. However, I knew that figuring out how to take the CAD plans and turn them into a cardboard construction kit would likely take more time and energy than I would be able to commit to it this week, considering I had zero experience with any CAD program. I thought about maybe making some universal airplane-shaped parts, with which I could construct a variety of airplane shapes, but ultimately I decided to temper my aspirations, and be happy making some simple geometric pieces that could fit together in any number of ways. The educational value of learning the basic commands and workflow of a program like Rhino seemed more valuable to me than stressing out over not knowing how to make something cooler than some rectangles with some (parametric) notches in them.
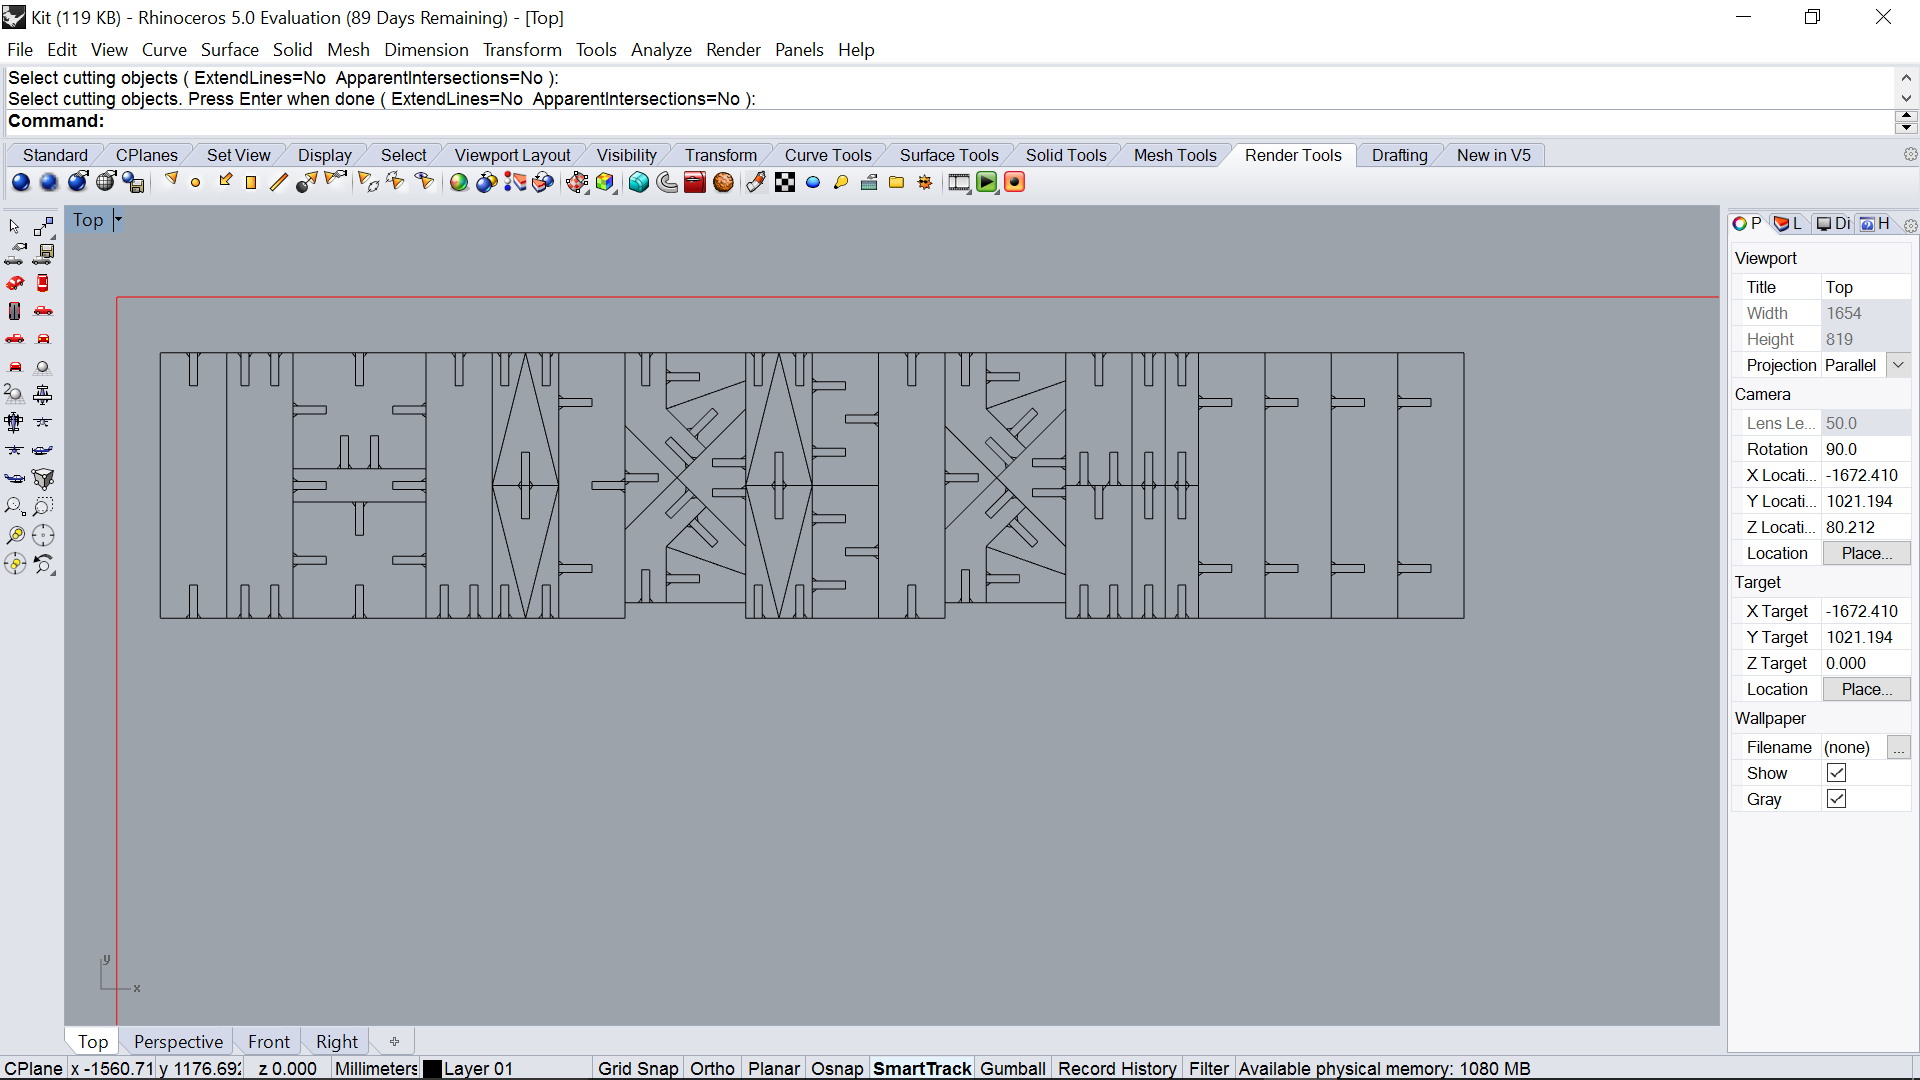
As I started making some rectangles, I began to play with them in my head. Gradually, the image of something like the Empire State Building began to take shape, and I decided my kit would be an architecture kit. I tried to use consistent measurements and sizes (ie whole numbers), knowing that the standardized gaps between notches and sizes of pieces would ultimately increase their versatility. I made sure that, whenever a notch sat opposite another notch, they were precisely far enough apart that the two outer, inter-locking pieces would be able to fully sit in their notches without interfering with each other. If that makes sense. Basically, I tried to think through how the pieces would fit together, and made sure they could fully do so.
As I worked my way across the row, making shapes, I thought about what kinds of shapes would be useful. I also tried to use the cardboard as efficiently as possible. After I created some 45-degree angle pieces, I ended up with some oddly narrow rectangles and some triangles of various sizes. I cut them up a few ways, adding a notch on one side only, figuring they would serve as spires or gargoyles, decorative embelleshments.
Now's where I admit my failure: I did not create a parametric kit. I attended the Harvard section's Grasshopper tutorial, saw how Grasshopper worked, and knew that it wasn't the sort of thing I would be able to wrap my head around in time for designing and cutting. I very much understand the value of a parametric design, but given the time-frame and the already steep learning curve I was experiencing, I decided to take the gamble and hope my notch-width matched the cardboard stock it was cut out of. A test-cut the day before told me that a .12" notch worked with the cardboard, and I made sure to cut from the same piece the next day.
I learned a couple lessons during the cutting session:
1. use 'Draw 2D' in Rhino to eliminate redundant lines. (The laser traced over the same lines multiple times, took a very inefficient route to cutting out everything)
2. Separate notches using a different line color, so they get cut first. (General rule: smaller features should be cut before cutting bigger features dislodges everything.)
3. Find a flat piece of material, bowing made focusing the laser somewhat moot
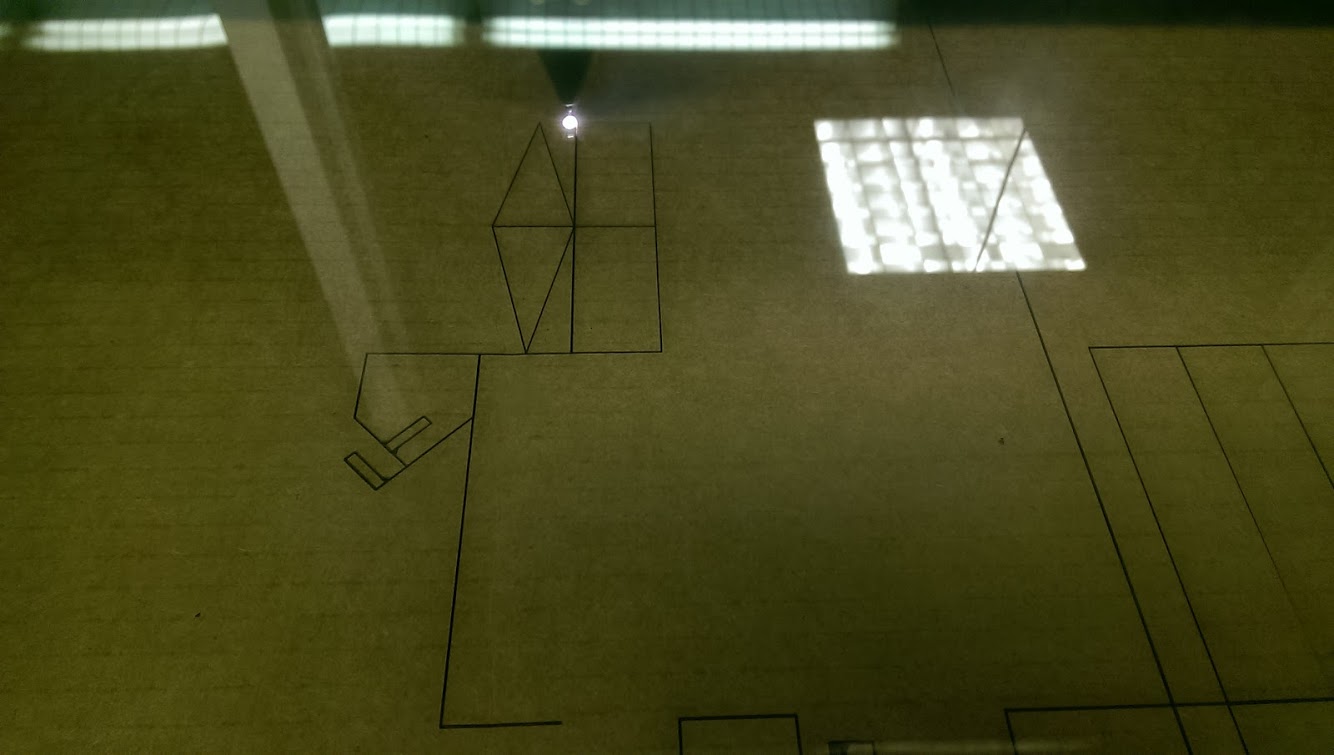
4. Test-print to make sure it cuts all the way through! I used the same settings I had used on the test-cut, but, as you can see below, most of the cuts didn't go all the way thought. Either that, or the bowed material caused the laser to not cut through everything.
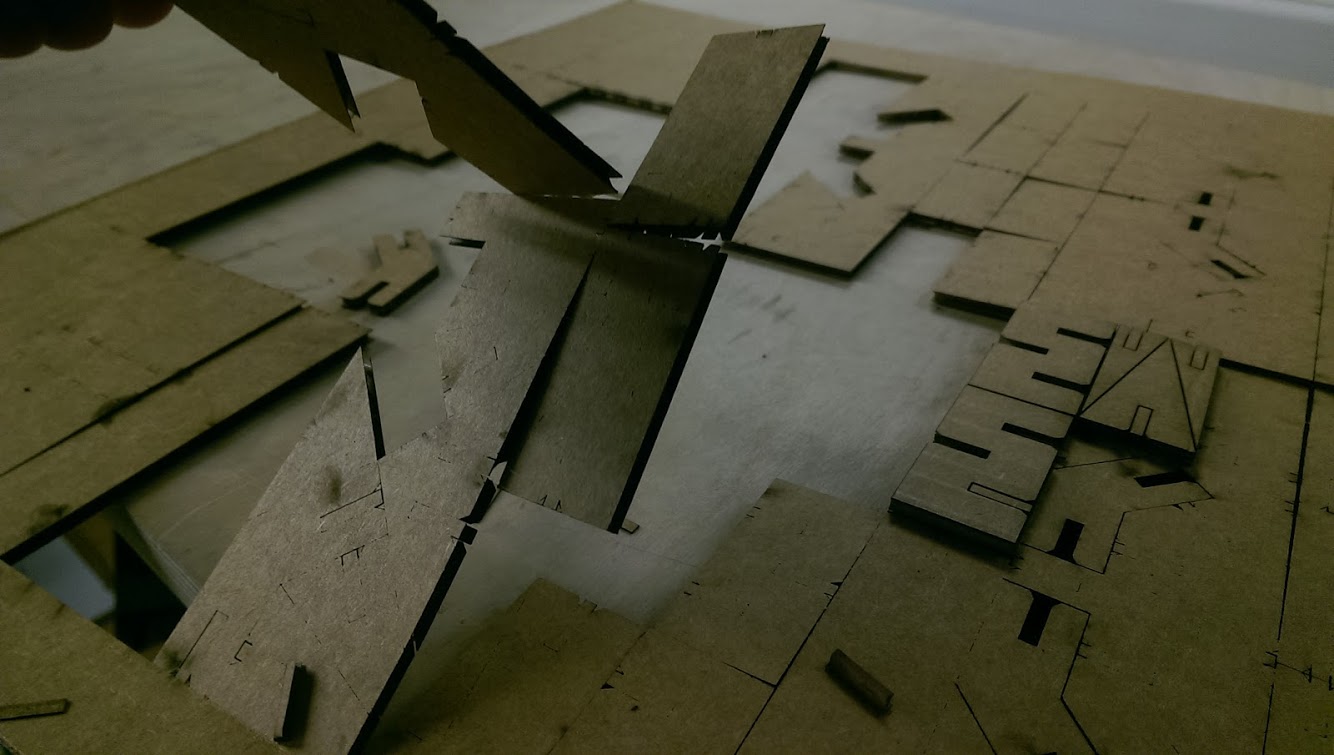
5. I got lucky: the notches are the right size!
Rather than take another 40 minutes of laser time to recut at a higher power level, I decided to head home and complete cutting it all out with an X-Acto knife. I'm used to making stuff with my hands, so I was finally on home turf! It took a couple hours, but for week 1, I'm okay with that.
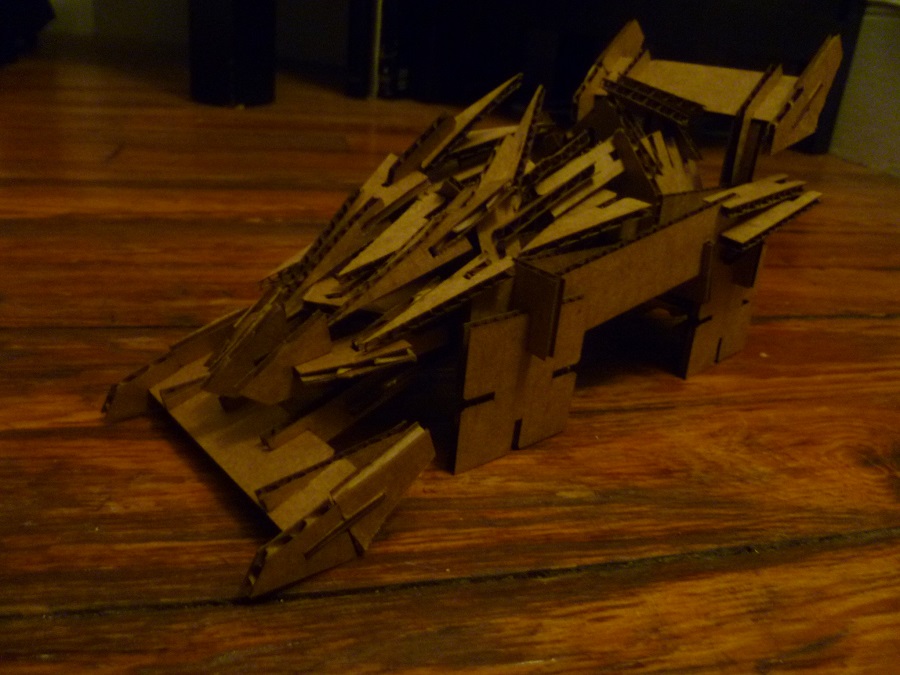
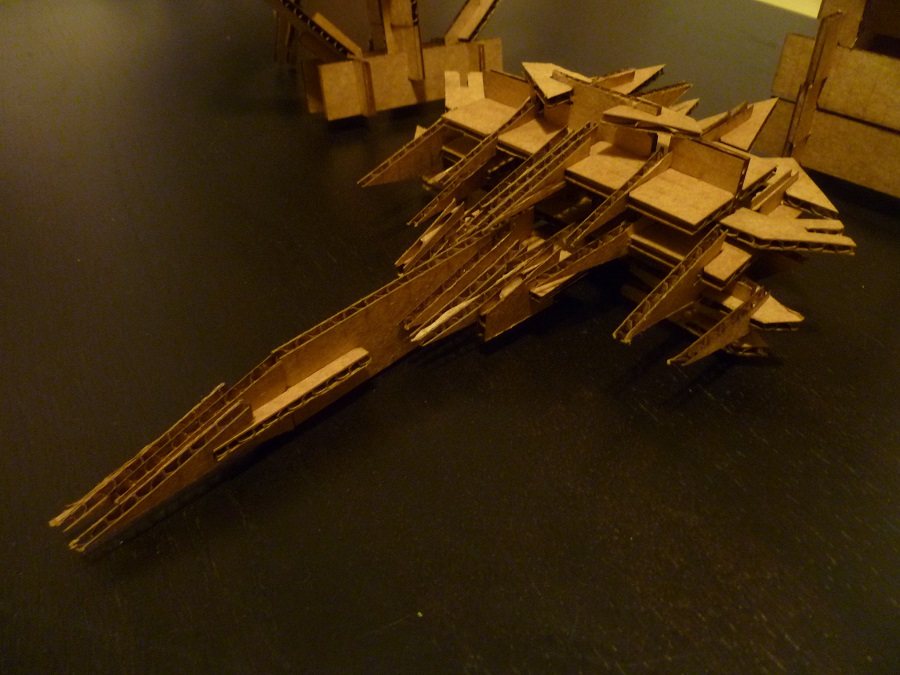
I gave the freshly-separate pieces to my roommates to play with, and their results were very positive! They came up with some designs I hadn't thought about. As I started playing with the kit, I realized you could make something really cool looking by just adding more and more decorative triangles (see my spaceship below, and at the top of this page). The kit could use some more angle pieces, but overall, I'd say it was a success.
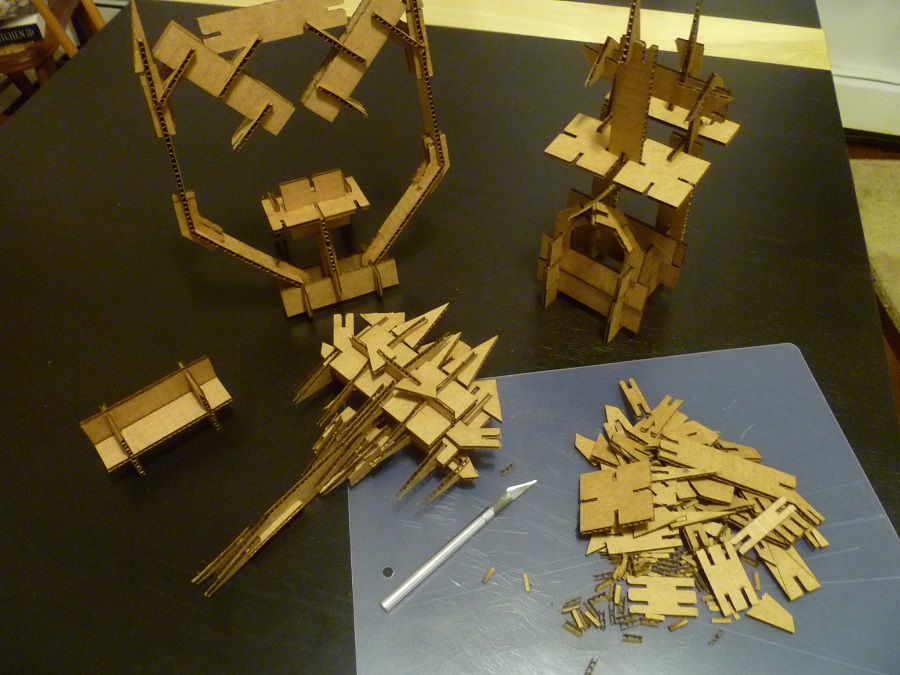
I kept playing, and ended up coming up with an open-wheeled racecar thing (see below). If I had set out to create a kit designed to make cool looking cars, I never would have come up with such a crazy-looking result. There is power in a flexibile design, allowing for possibilities you hadn't thought of before. A car-specific, or airplane-specific kit would likely prove ultimately limiting to the imagination. Take whatever lesson from that you see fit. A personal lesson: I like building with my hands, I feel more comfortable doing so at the moment. I could not have designed that car on computer, at the moment. The tech interface is keeping me from thinking efficiently. The tool is in the way at the moment, but I know once I become more familiar with it and its capabilities, we'll get along just fine!